2 PhantomNet Users
2.1 Registered Users
Registering for an account is quick and easy. Registering doesn’t cost anything, it’s simply for accountability. We just ask that if you’re going to use PhantomNet for anything other than light use, you tell us a bit more about who you are and what you want to use PhantomNet for.
Users in PhantomNet are grouped into projects: a project is a (loosely-defined) group of people working together on some common goal, whether that be a research project, a class, etc. PhantomNet places a lot of trust on project leaders, including the ability to authorize others to use the PhantomNet. We therefore require that project leaders be faculty, senior research staff, or others who are relatively senior positions.
2.2 Register for an Account
To get an account on PhantomNet, you either join an existing project or create a new one. In general, if you are a student, you should join a project led by a faculty member with whom you’re working.
If you already have an account on
Emulab.net, you don’t need to sign
up for a new account on PhantomNet—
2.2.1 Join an existing project
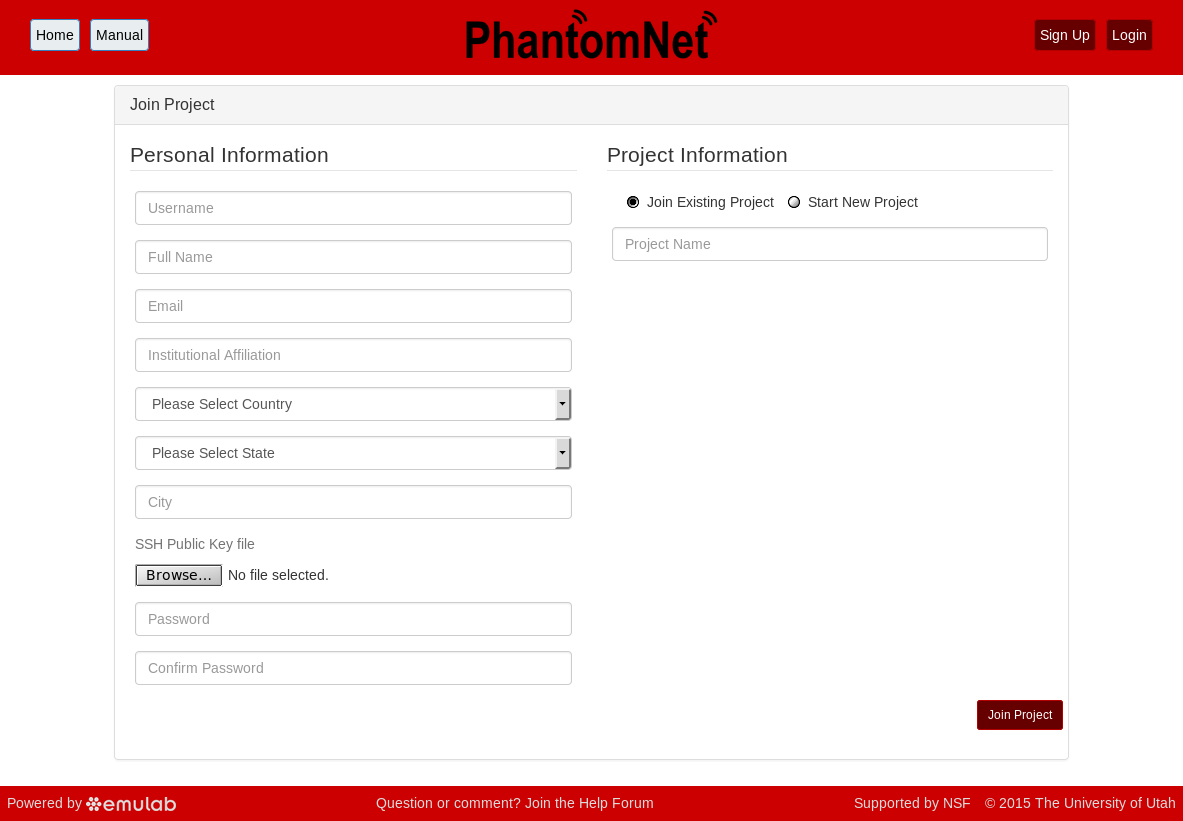
To join an existing project, simply use the “Sign Up” button found on every PhantomNet page. The form will ask you a few basic questions about yourself and the institution you’re affiliated with.
An SSH public key is required; if you’re unfamiliar with creating and using ssh keypairs, we recommend taking a look at the first few steps in GitHub’s guide to generating SSH keys. (Obviously, the steps about how to upload the keypair into GitHub don’t apply to PhantomNet.)
PhantomNet will send you email to confirm your address—
watch for it (it might end up in your spam folder), as your request won’t be processed until you’ve confirmed your address.
2.2.2 Create a new project
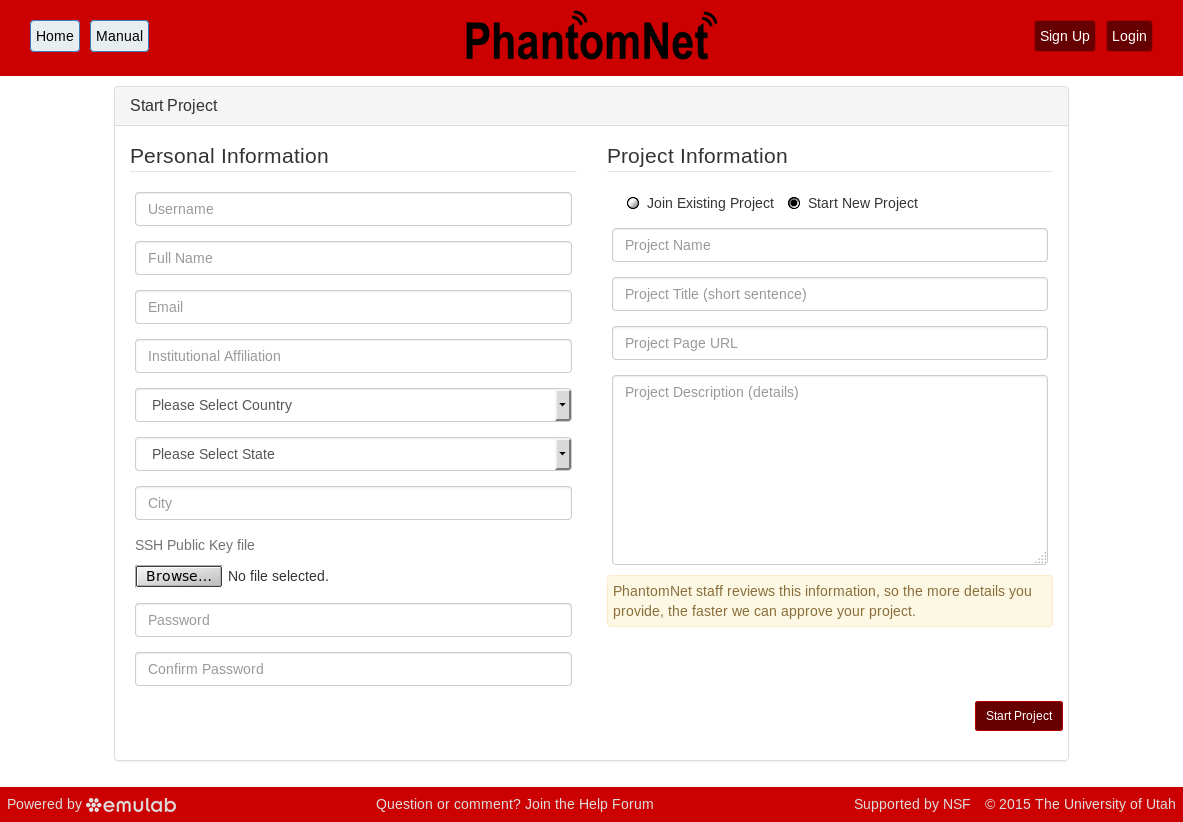
You should only start a new project if you are a faculty member, senior research staff, or in some other senior position. Students should ask their advisor or course instructor to create a new project.
To start a new project, use the “Sign Up” button found on every PhantomNet page. In addition to basic information about yourself, the form will ask you a few questions about how you intend to use PhantomNet. The application will be reviewed by our staff, so please provide enough information for us to understand the research or educational value of your project. The review process may take a few days, and you will receive mail informing you of the outcome.
Every person working in your project needs to have their own account. You get to approve these additional users yourself (you will receive email when anyone applies to join.) It is common, for example, for a faculty member to create a project which is primarily used by his or her students, who are the ones who run experiments. We still require that the project leader be the faculty member, as we require that there is someone in a position of authority we can contact if there are questions about the activities of the project.
Note that projects in PhantomNet are publicly-listed: a page that allows users to see a list of all projects and search through them does not exist yet, but it will in the future.